Add a Transaction
The Transaction section tracks all of your Transactions - current and historical ("Completed"). There are many ways that you can enter Transactions into the system: for historical Transactions, it is recommended that you add a Transaction from a Contact or the Transactions page, but for a current Transaction it is recommended that you add via the Buyer Active Client or the Seller Listing.
![]()
Add A Current Transaction
When using Reach to track your transaction flow from beginning to end and you have received an accepted offer, you can easily create a new Transaction from either the Buyer Active Client or your Listing.
Instructions to create a Transaction from an Active Client (Buyer)
Instructions to create a Transaction from a Listing (Seller)
Add A Historical Transaction
Sometimes you want to add historical information to your system. Reach offers you 2 ways to do this:
from a Contact
from the Transactions Page. The process is similar for both approaches.
When adding a historical Transaction, most of the time the Transaction has already completed so make sure that you set the Status of the Transaction as Completed.
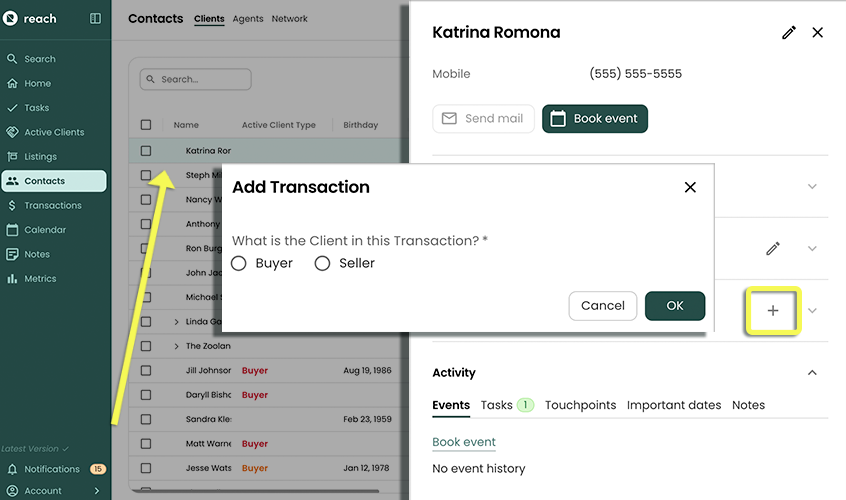
Adding via Contact
![]()
- In the sidebar, click on Contacts or Active Clients
- Select the desired contact (or group)
- In the contact details that appears on the right, scroll to Transaction history section so you see the "+" Transaction link. Click it!
- Enter whether this contact acted as the Buyer or Seller
- If Buyer is selected, you can progress to adding Transaction details
- If Seller is selected, you must either specify an existing address or a new one before progressing to the Transaction details
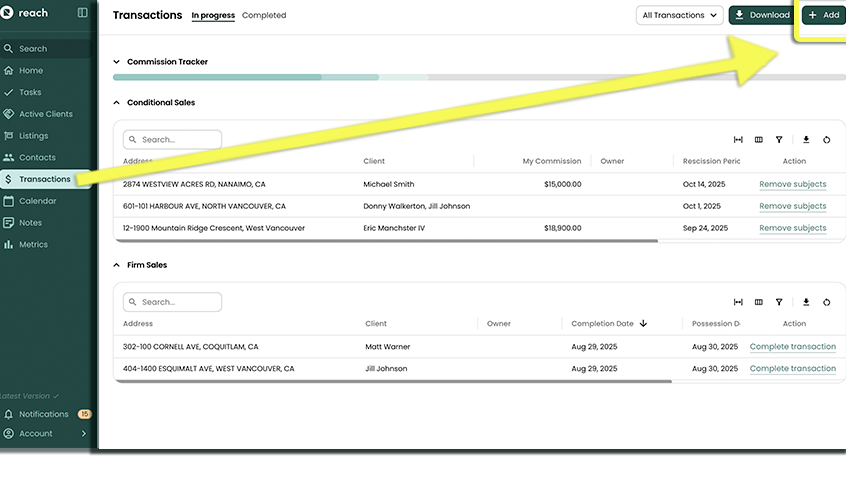
Adding via Transactions
![]()
- In the sidebar, click on Transactions
- In the top right, click Add
- Click Add Contact to select the Contact (or group) you wish to add a Transaction for
- Enter whether this contact acted as the Buyer or Seller
- If Buyer is selected, you can progress to adding Transaction details
- If Seller is selected, you must either specify an existing address or a new one before progressing to the Transaction details