Transition to Accepted Offer
Congrats, your buyer has an accepted offer. You can now create a Transaction from this buyer "Active Client".
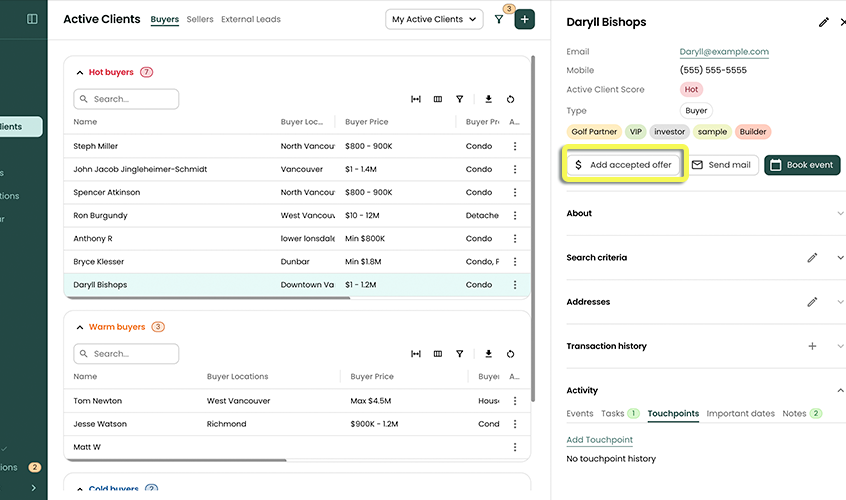
In the sidebar, click on Active Clients
Select the buyer Active Client that just got an accepted offer
When the Active Client details open up, click the Accepted Offer button as shown below.
- If you don't see this button, your Active Client might not be set as a Buyer. Try editing the Active Client and mark them as a Buyer. Click "save" and click on Accepted Offer as described above
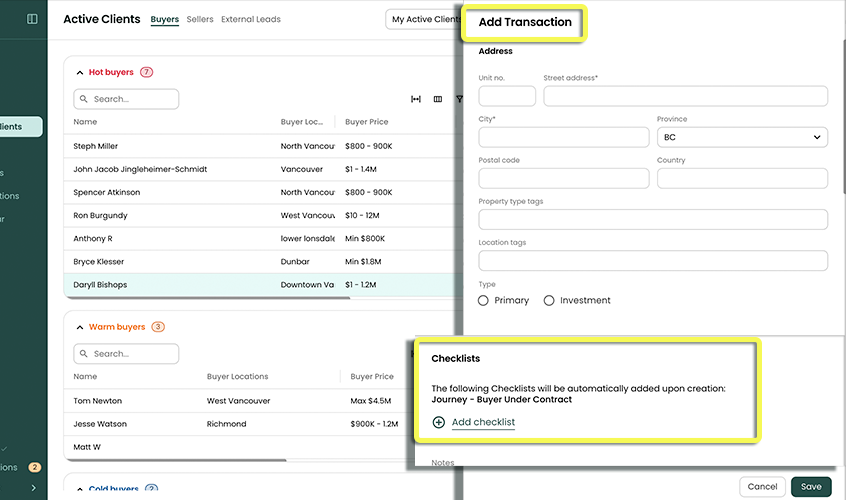
The Add Transaction page will now prompt you to input the information about the accepted offer. The dates in the form are important as they will appear in your calendar.
- Refer to Adding a Transaction for more information on details of a Transaction
Optionally add any Checklists for this Transaction.
- Refer to Checklists and Automated Tasks for info on how these relate, and streamline Transactions.
Click Save
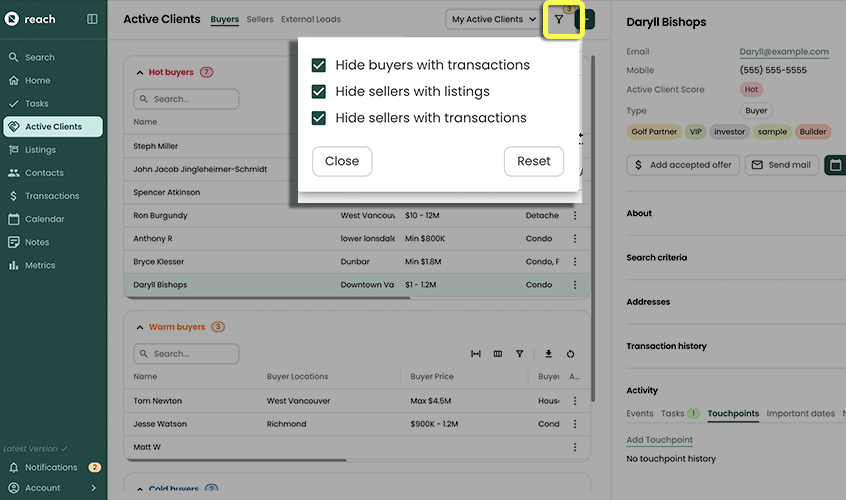
When a new Transaction is created, it appears in the Transaction section as expected. At the same time, the associated Client is displayed differently in the Active Clients table. This distinction separates Active Clients with pending Transactions from other Active Clients.
You can control how these clients are displayed by clicking Filter and selecting your preferred settings for handling Active Clients with pending Transactions. This makes it easy to manage and prioritize your client workflow.
Once the Transaction completes, the "Buyer" status is removed from the Active Client