Add a Listing
Managing your Listings in Reach comes with powerful benefits designed to keep you organized and in control.
Calendar Integration: Manage all your showings, appointments, and events directly from the Listing page. Dates and address details are automatically added to your calendar—so you’ll never miss an event.
Compliance & Tracking: Every appointment is tracked, giving you a complete activity history for seller confidence and compliance. It even logs which buyer agents have shown the property.
Instant InfoPack™ Delivery: Easily send InfoPacks with every booked showing—quickly, cleanly, and professionally.
Team Visibility: Key details about the Seller, Buyer’s Agents, and Listing are displayed clearly for you and your team. This makes delegating tasks or events fast and seamless.
Built-in Organization: Track Tasks, Notes, and Expenses tied directly to your listing, keeping everything centralized.
Automation: Automatic Tasks and Checklists generate based on listing dates, ensuring your to-do list stays updated without extra effort.
With these tools, Reach helps you stay organized, compliant, and impressively efficient—all while delivering a smooth experience for your clients and team.
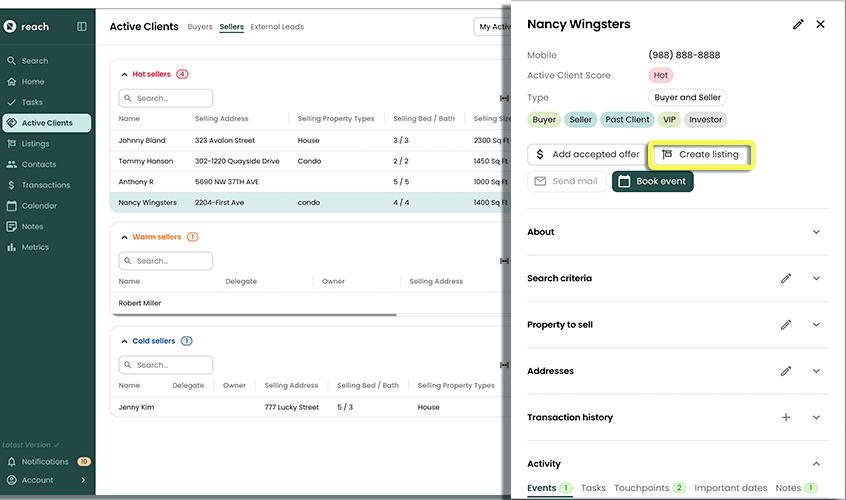
Create a Listing from a Seller Active Client
In the sidebar, click on Active Clients
Select the Active Client who is the seller to open up the Active Client details on the right
Click Create Listing in the Active Client's details
The Edit Listing page appears and will be pre-populated with the Property Info of the Seller that has already been populated when you created the Active Client. If the Seller has no Property Info, then a blank "Add Listing" form is shown. Note that although a Seller can have multiple addresses (e.g. multiple investment properties), they can only have Property Info for a single address.
Fill out the Listing information
Click Save
Create a Listing from Scratch
- In the sidebar, click on Listings
- Click the + Add button
- Fill out all the Listing information
- Make sure that the Listing is associated with a Client
- Click Save
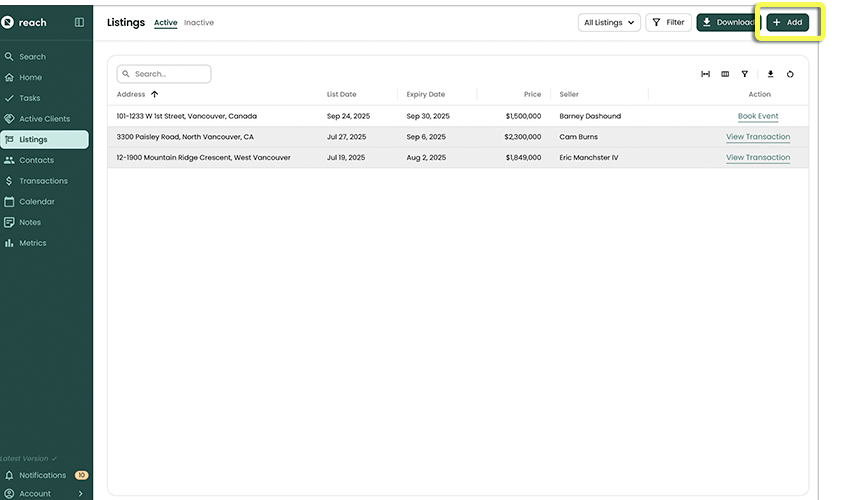
Your Listing now appears in the Listings area of Reach, you can begin booking showings and doing what you do best, Selling!
When a Transaction is closed, the "Seller" status of the Active Client is removed.