Intro To Seller Portal
The Seller Portal is your Sellers window into their listing, and your hard work. It gives Seller a dedicated, branded dashboard where they can follow the progress of their listing in real time — showings, open houses, documents, feedback, and more. It reduces "what's happening with my listing?" calls and positions you as a transparent, tech-forward agent that is always working hard to get them results!
The Seller Portal requires a Pro subscription. For users under a brokerage account, you may need to "upgrade to Pro" to start using this.
Before You Invite a Seller
A few things should be in place before sending an invitation (for a full walkthrough go to our help section on Portal Settings)
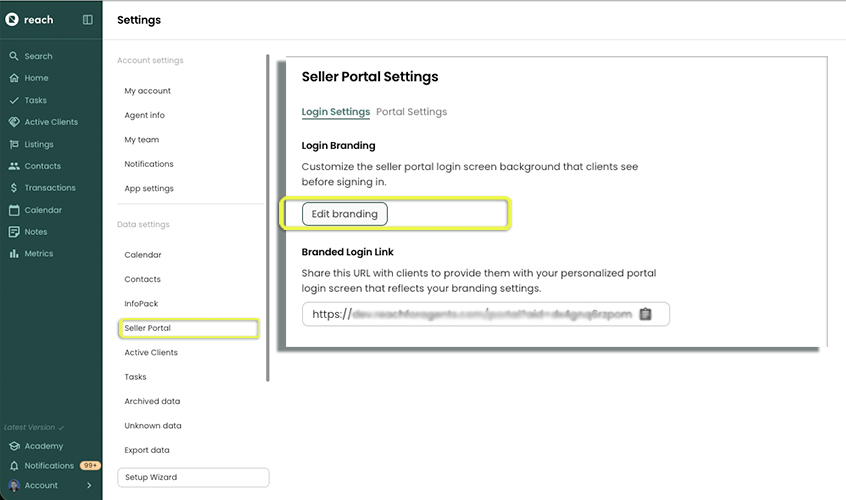
- Configure your branding — Sellers land on your branded registration screen to create an account and continually revisit this customized page each time they sign-in. Set up your logo and colors first under Account -> Settings -> Seller Portal.
- Create a listing for the Contact (Seller) — The portal pulls its content from the contact's listing. Create the listing first so the seller doesn't land on an empty dashboard. You need to ensure that the Contact is added to the Listing as a Seller. Any other contacts that need access to the listing info, need to be added as a Seller.
Also make sure you have spelled your client's name correctly. Their name will be displayed in the Portal.
- Create xategories For Seller Portal activities - While you're in Account -> Settings -> Seller Portal, take a moment to define the Categories you want to use for grouping activities and events on the Seller Portal timeline (e.g. Price change, Marketing, Market Update). Doing this up front means every event and activity you record can be tagged consistently — see Categories & Buyer Identifiers for how they appear in the portal. This helps keep your threads organized with your Seller(s).
